


Product Details


 |
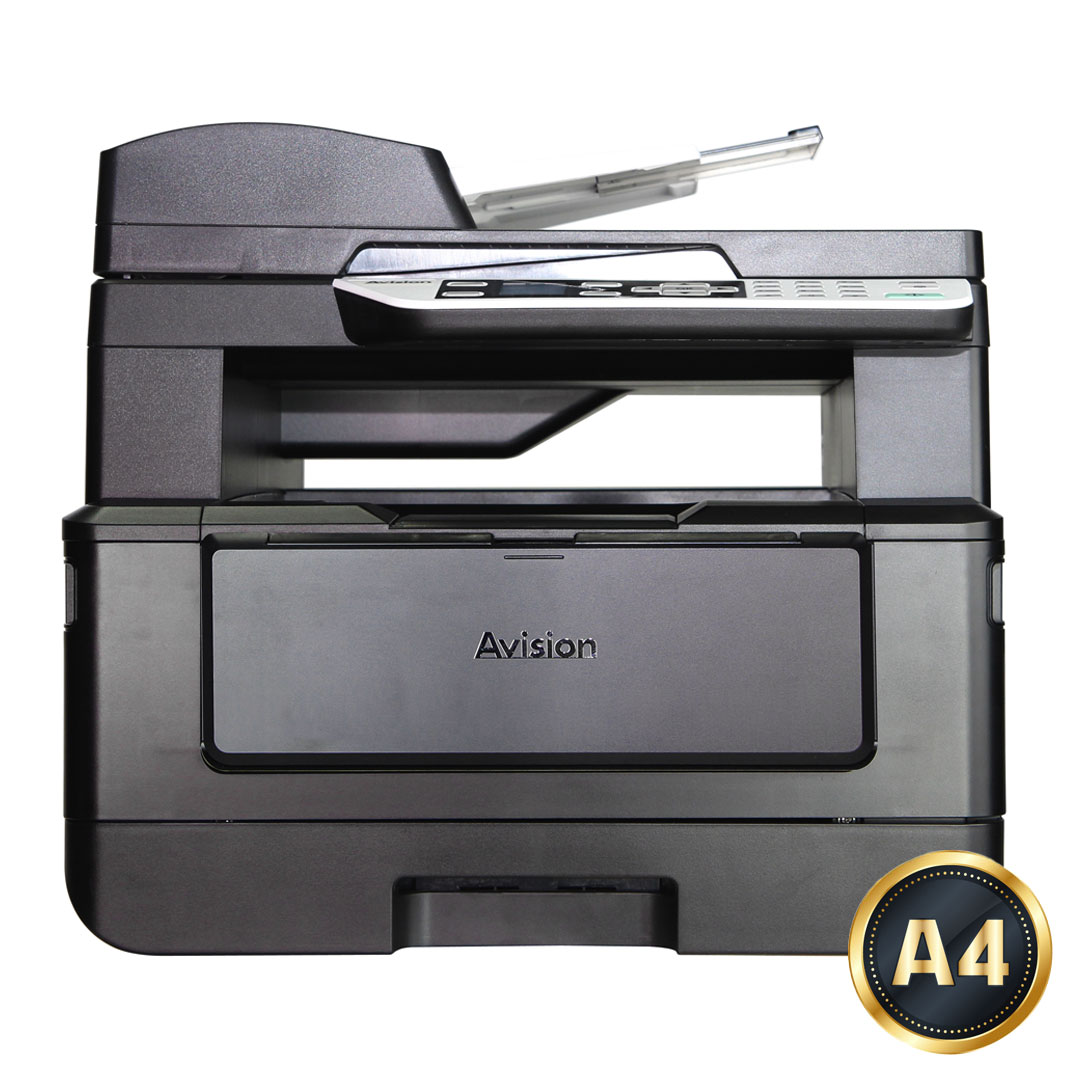
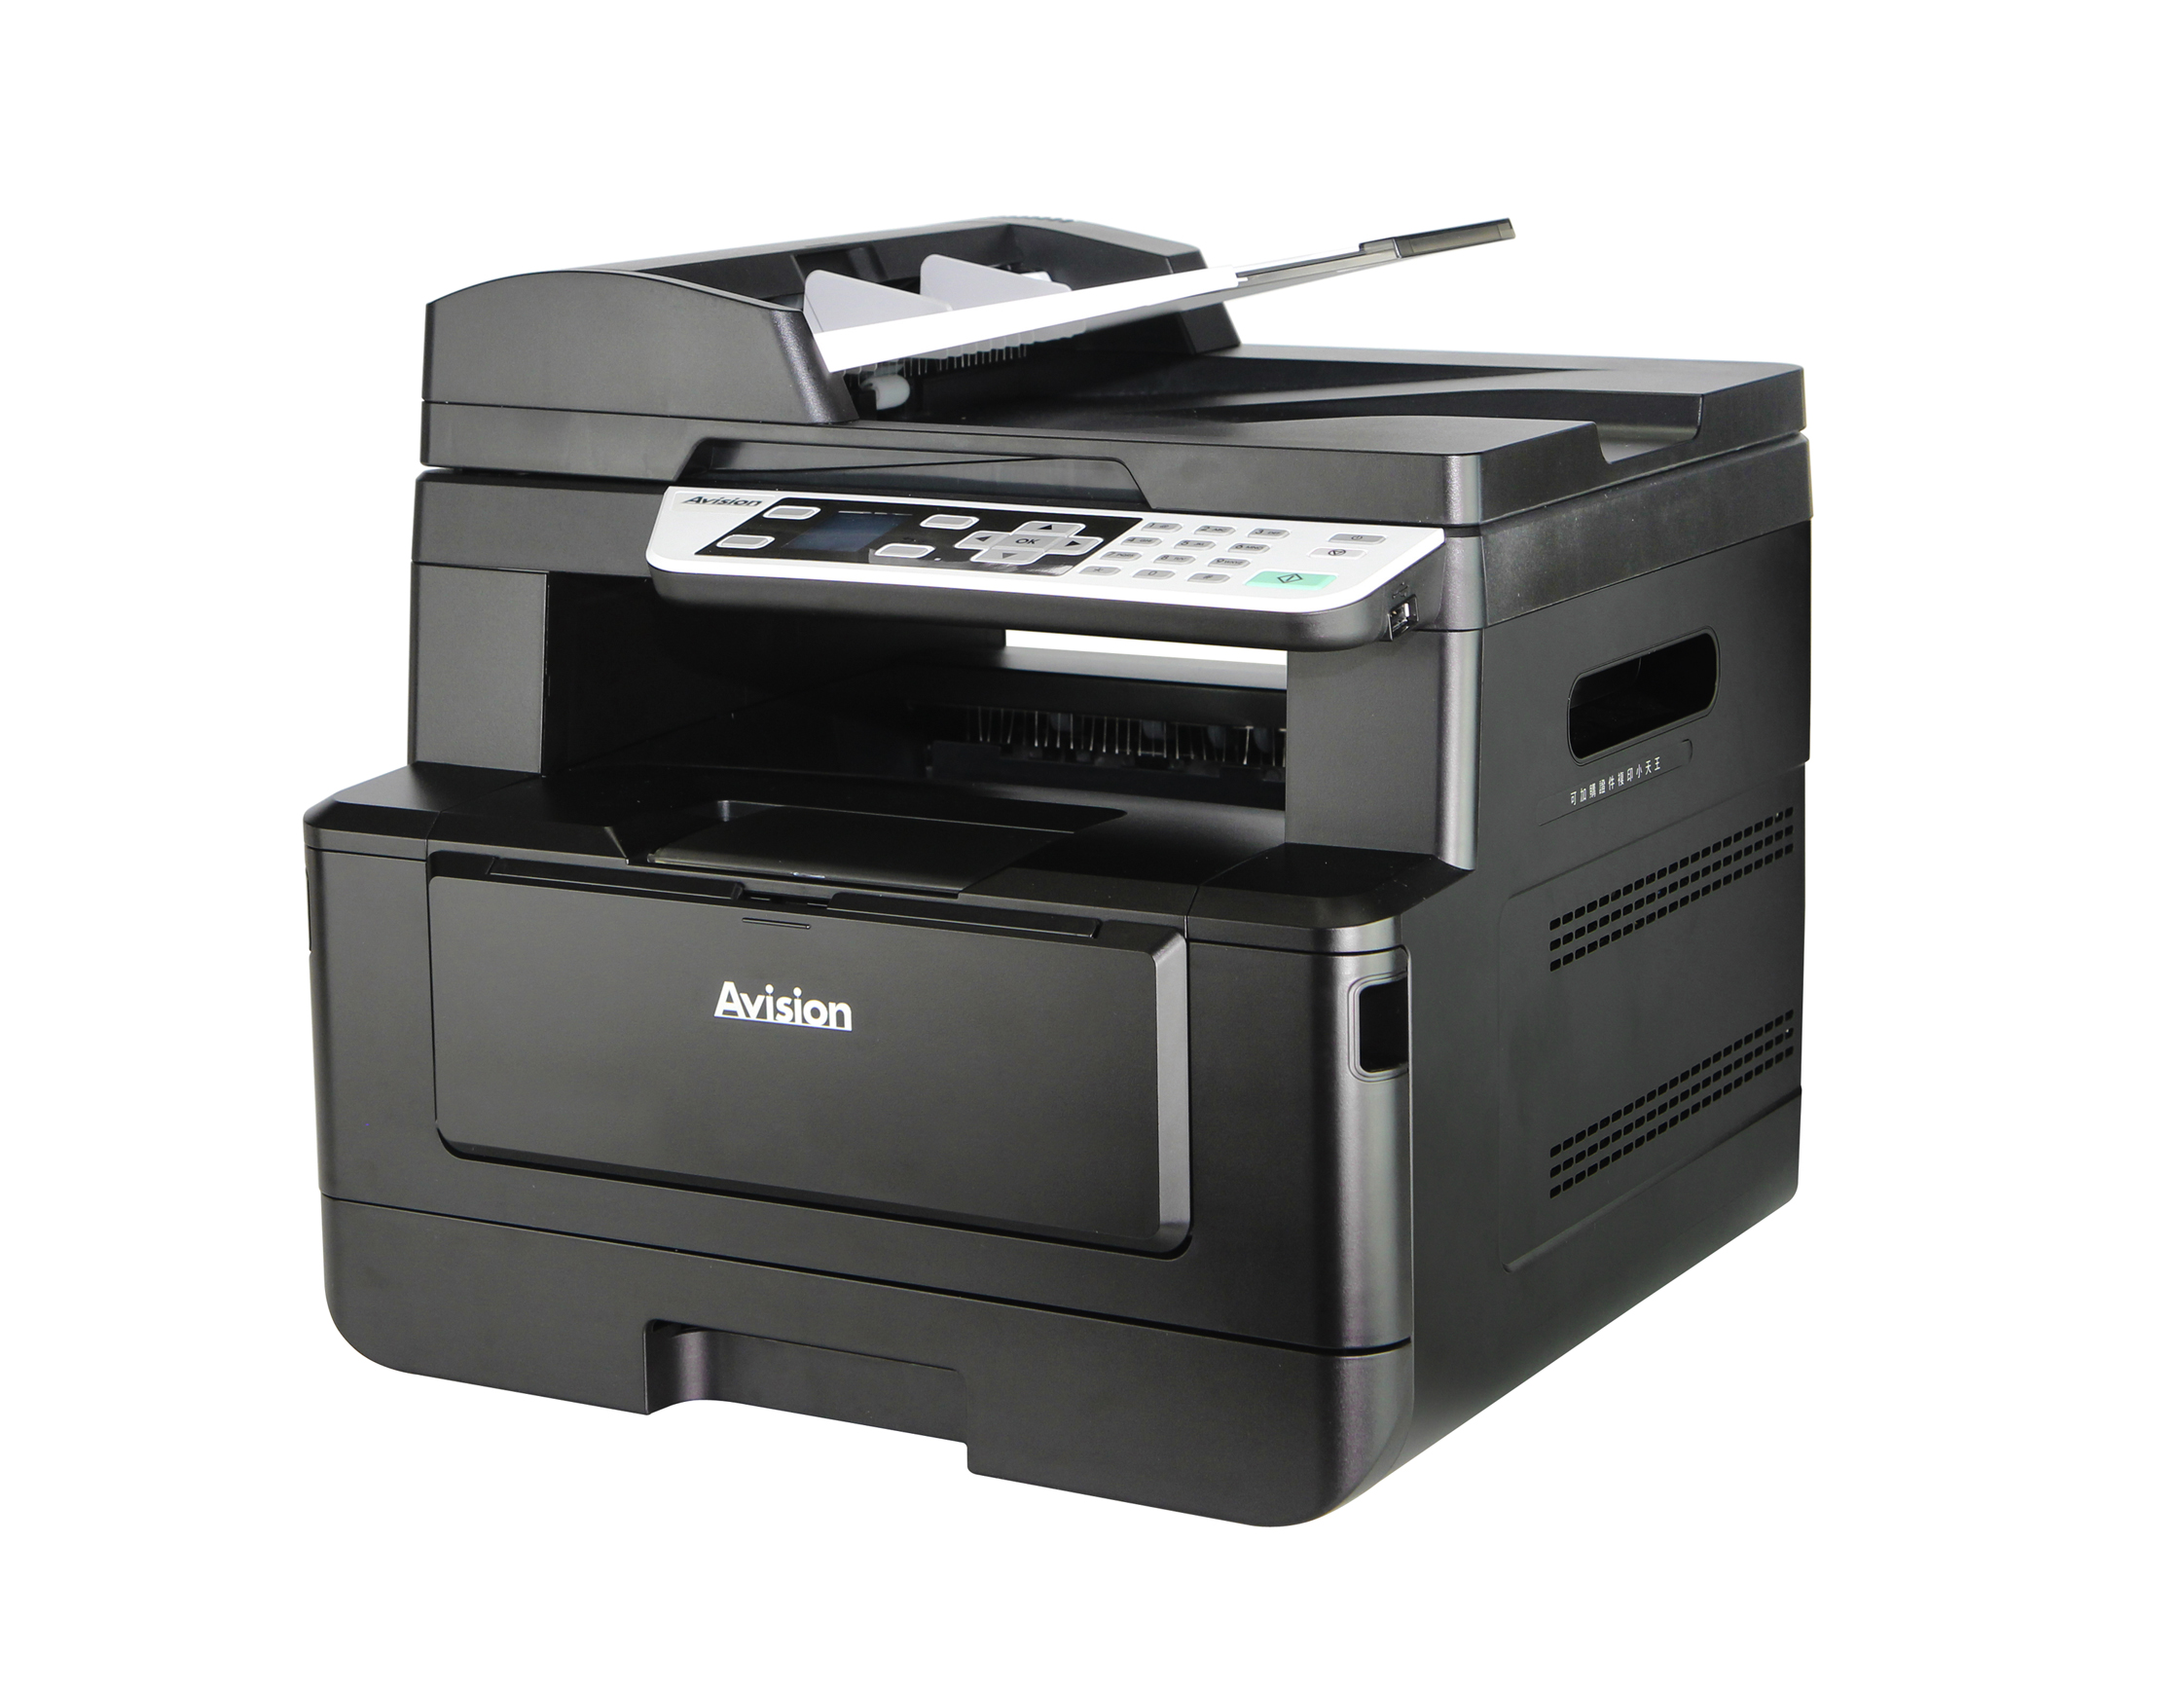
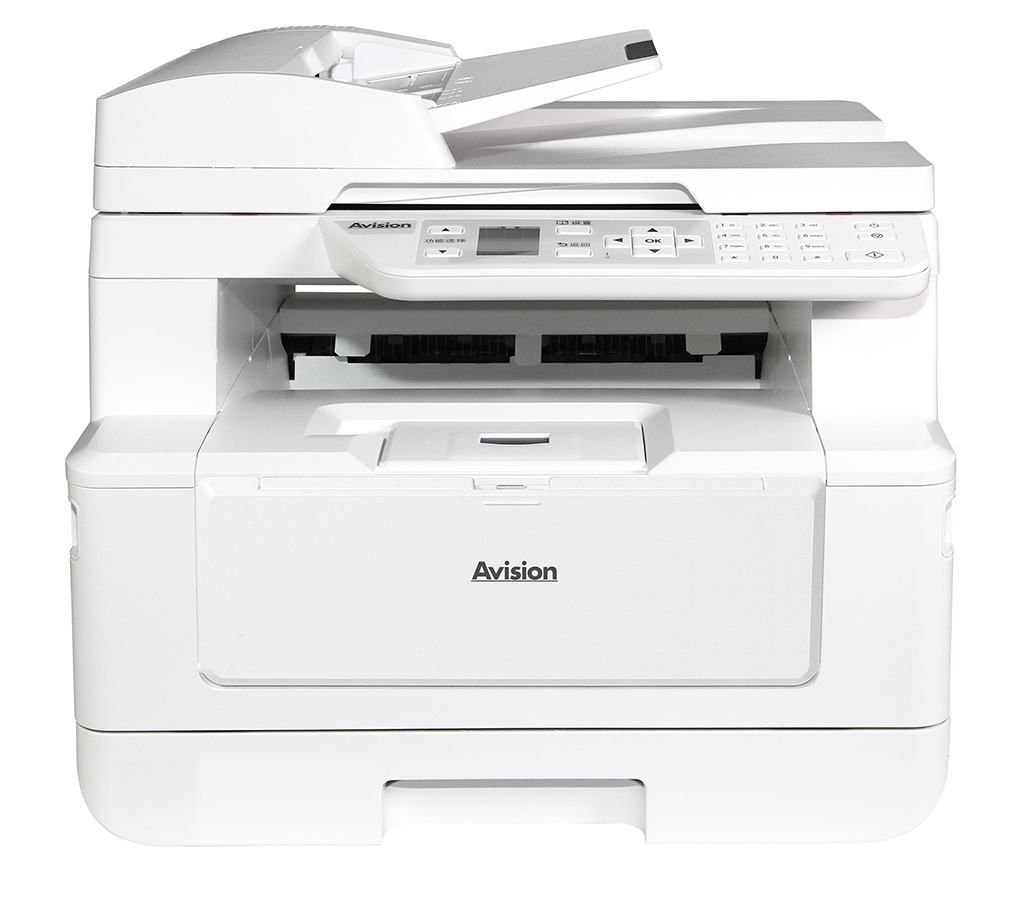
▍Fast, High-Quality Printing & CopyingProduce professional black and white output at impressive copy speeds of up to 33 pages(A4)/35 pages (Letter) per minute. And print up to 33 pages(A4) / 35 pages (Letter) per minute . ▍Built-in Duplex Print UnitUse the automatic duplex printing feature to help save paper and reduce costs.
|
||
▍Clear, & Easy-to-use LCD ScreenEasy to read and navigate, 1.7-inch, bright color LCD screen guides you through even the most complex operations. Simply make a few presses on the control panel, your document can be digitized and distribute within seconds.
|
|||
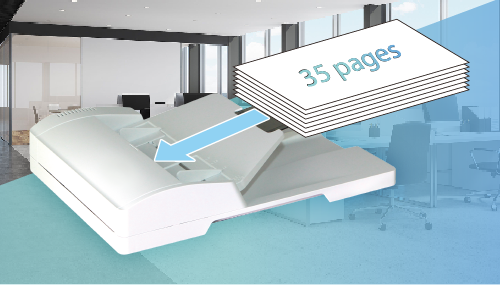
▍Built-in 35-sheet Automatic Document FeederThrough the built-in 35-sheet automatic document feeder, the product allows a stack of 35-page document(s) to be continuously scanned and transmitted at one time in reliable quality to increase your efficiency.
|
|
||
|
|
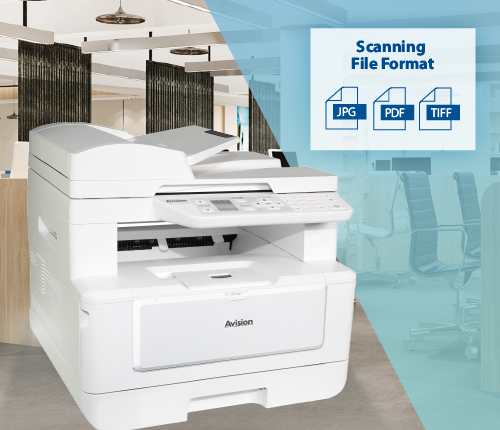
▍Advanced scanning capabilitiesThe product lets you scan paper-based documents in full color in PDF, JPEG, or TIFF file format and send them to a variety of destinations such as E-mail, FTP, USB and network folder (SMB).
|
||
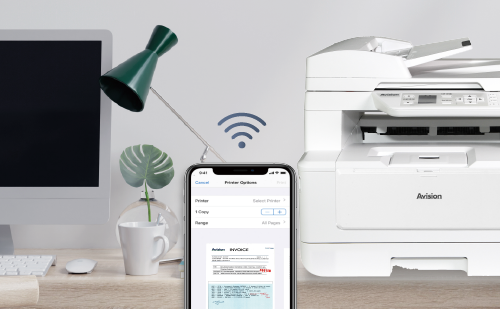
▍Convenient Mobile PrintingThe product is able to connect to your mobile devices wirelessly and supports Android Mopria or iOS AirPrint. Simply download the corresponding app, you can complete printing through your mobile devices and enjoy the convenience and benefit of wireless transmission!
|
|
||
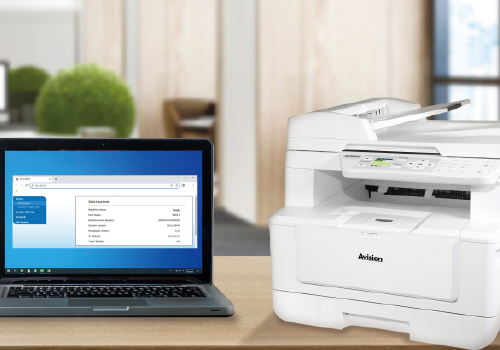 |
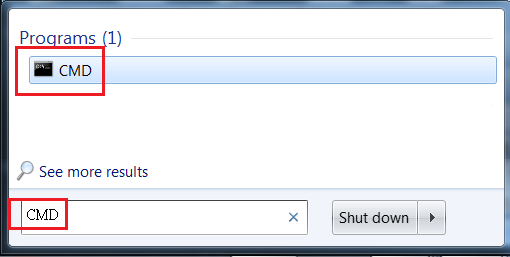
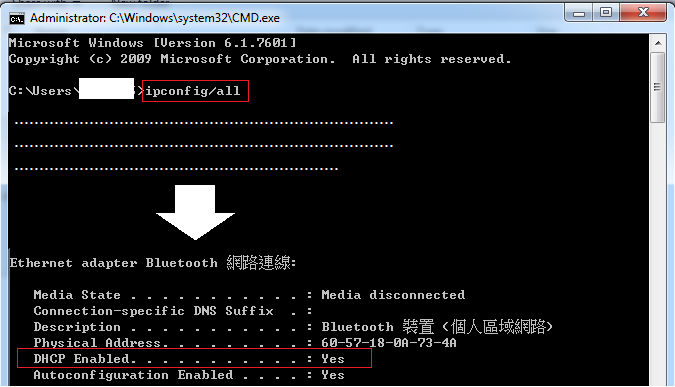
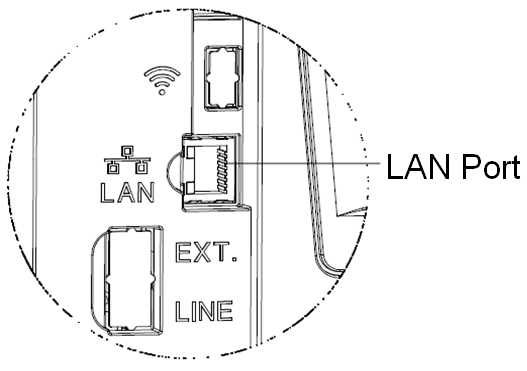
▍Remote Device Management through Embedded Web PageThe product provides a convenient way to view the supplies status of printer cartridge, scan count, and copy count to help you maintain the product well. By simply typing the machine’s IP address in the URL field of your browser, the product’s embedded web page will be prompted. |
||
▍Features
- Duplex Versatility: Two sided printing, and copying
- Print and copy at up to 33 cpm (A4 LEF) in black and white
- First print/copy output time < 11 seconds
- Scan in color up to 1200 dpi optical resolution
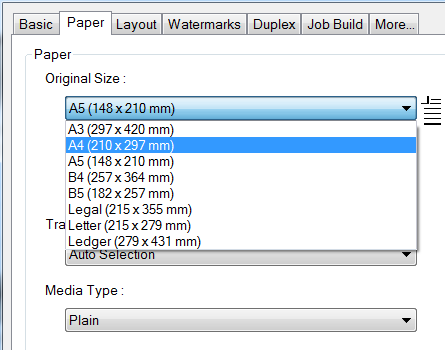
- Full A4 platen glass allows you to scan A4-size document with ease
- Scan to and print from USB for files on the go
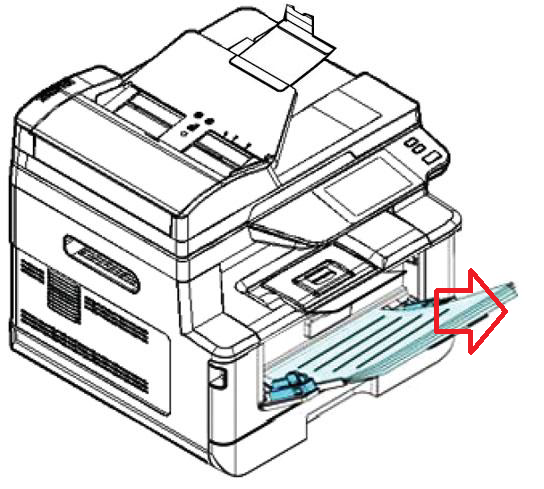
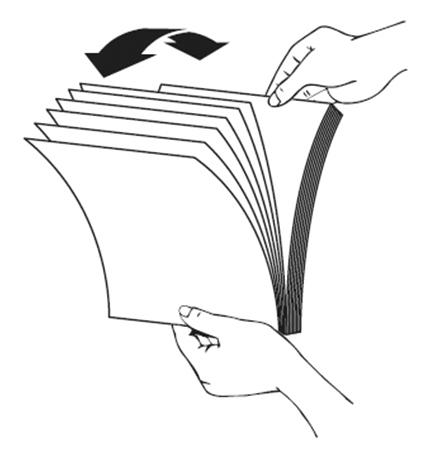
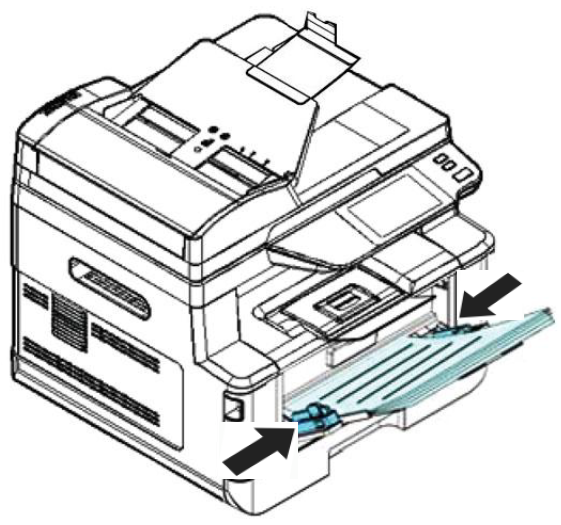
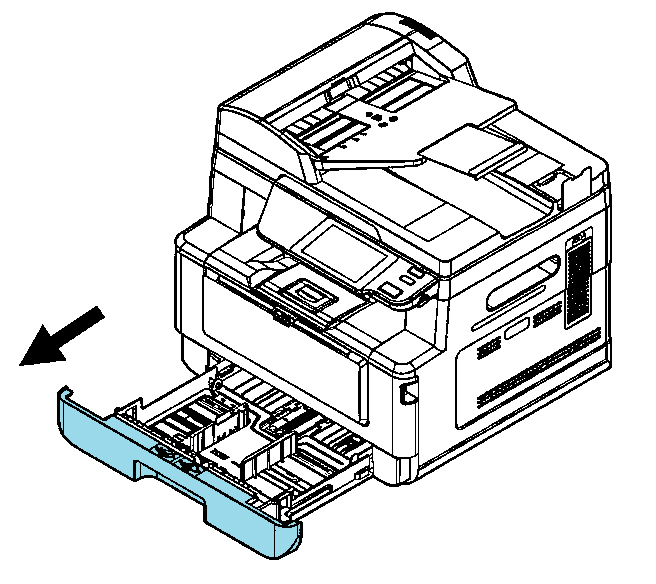
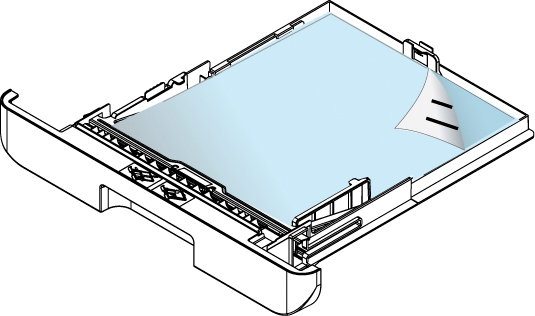
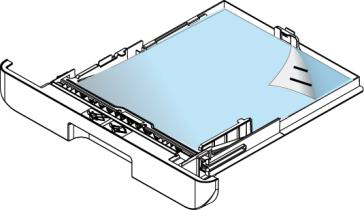
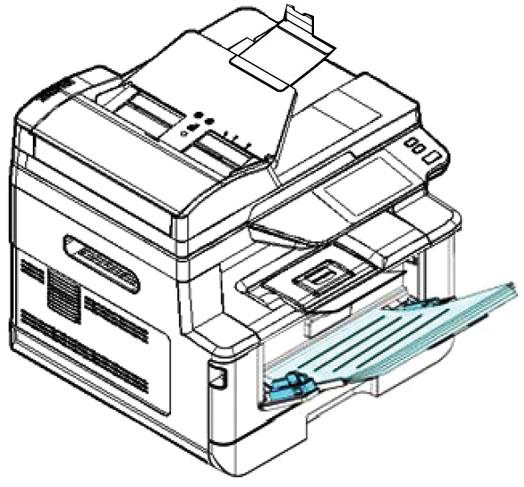
- 250-sheet standard or optional tray plus 10-sheet multipurpose tray
- Remote device management through embedded web page
- User-friendly 1.7” FLF LCD screen for easy operation


